
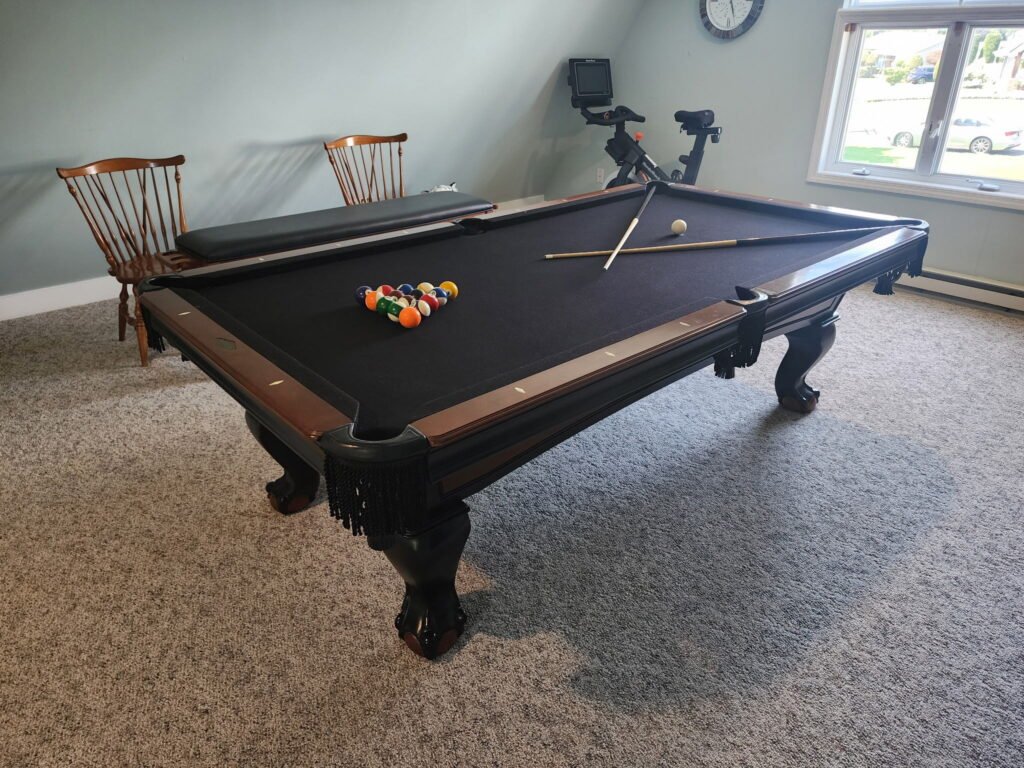
Moving a pool table is one of the most challenging furniture relocations you can attempt. A regulation slate pool table can weigh between 700 and 1,000 pounds, with a slate bed that is precision-ground and extremely fragile. Attempting a DIY move often leads to cracked slate, torn felt, bent frames, and floors that get gouged along the way. In this guide, we walk through exactly how professional pool table movers break down, transport, re-install, level, and seal a table with beeswax so it plays like new in its new home.
Why You Should Hire a Professional Pool Table Mover
A pool table is not a single object you can slide across the room. It is a precision assembly of a hardwood cabinet, a heavy slate playing surface, rubber cushions, and a stretched cloth bed. The slate alone is often split into three separate pieces, each weighing 150 to 250 pounds, joined and shimmed to create a perfectly flat surface. Move it incorrectly and you risk cracking the slate, warping the frame, or knocking the level out so the balls roll on their own. Professional movers protect your investment, your floors, and your back.
Step 1: Breaking Down the Pool Table
Every successful pool table move begins with a careful, methodical breakdown. Rushing this stage is where most damage happens. Here is how the pros disassemble a table before it ever leaves the room.
Remove the Pockets and Rails
The first components off the table are the pockets (or ball return covers) and the rails. Each rail carries a rubber cushion that must stay intact, so the bolts underneath are removed slowly and the rails are set aside and wrapped. Loose bolts, staples, and hardware are bagged and labeled so nothing goes missing before reassembly.
Detach and Protect the Felt
Next comes the cloth. If the felt is stapled, it is carefully lifted so it can potentially be reused; if it is glued or worn, this is the perfect moment to plan for a re-felt at the destination. Quality billiard cloth is expensive, so it is handled gently and stored flat to avoid creases.
Lift and Separate the Slate
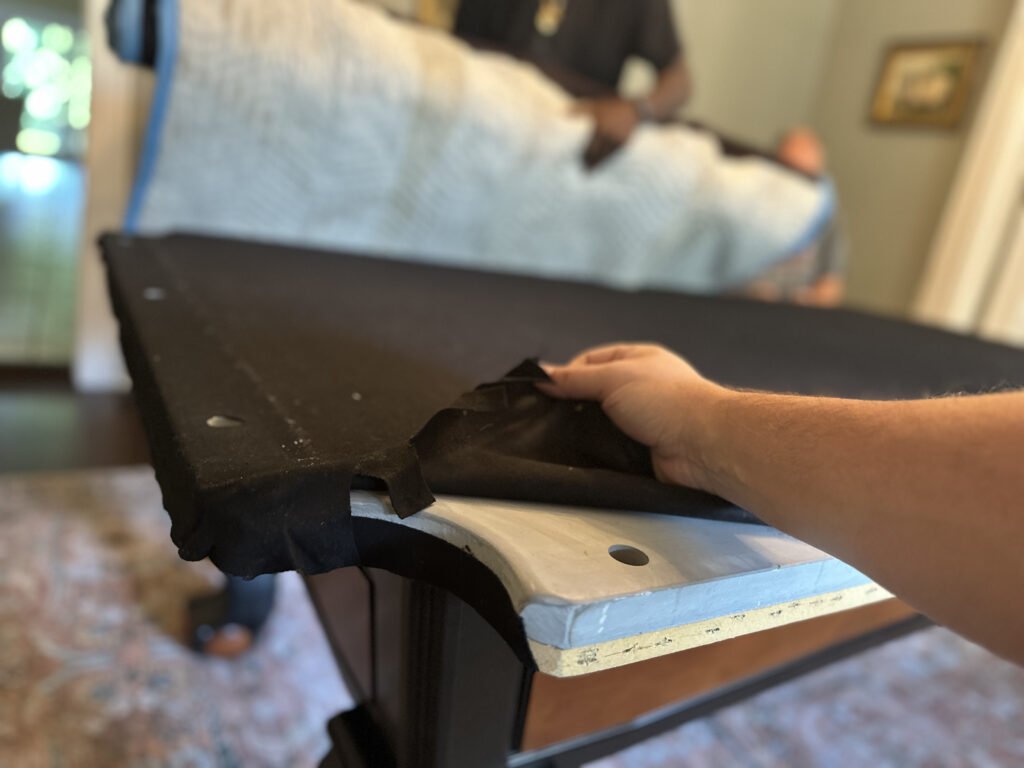
This is the heart of the job. The slate is unscrewed from the frame, and the seams filled with beeswax or bondo are separated. On a three-piece table, each slab is lifted straight up by two or more people, never dragged, and set on padding on its edge. Slate is brittle and cracks easily under uneven pressure, so this step is where professional experience truly pays off. The photo below shows a cushion and slate edge during breakdown, with the cloth being folded back off the rail.
Step 2: Wrapping and Transporting the Table
Once broken down, every component is wrapped in moving blankets and padding. Slate slabs are the priority: they are wrapped individually, kept vertical, and secured so they cannot shift or tip during transit. The cabinet, legs, rails, and pockets are padded and boxed separately.
- Slate is transported on edge, never flat, to reduce the risk of cracking.
- Rails and cushions are wrapped to protect the rubber and finish.
- Hardware is bagged, labeled, and kept with the table so nothing is lost.
- The truck is loaded so heavy slate is braced against a wall and strapped down.
Careful loading and driving matter just as much as the wrap job. A sudden stop with unsecured slate can undo an otherwise flawless breakdown.
Step 3: Re-Installing the Pool Table at Its New Home
Re-installation reverses the breakdown, but with even greater attention to precision. The frame and legs are reassembled first and positioned in the final playing location, because a fully assembled slate table is nearly impossible to move afterward. Choose the spot carefully with clearance for cue strokes on all sides.
The slate slabs are then set back onto the frame and roughly aligned. On a three-piece table, the slabs are butted together and the installer begins the meticulous work of making three separate pieces behave like one continuous, dead-flat surface.
Step 4: Leveling the Slate to Perfection
Leveling is what separates a table that plays true from one where balls drift. Using a machinist level or a quality carpenter level, the installer checks the surface across its length, width, and diagonals. Thin shims are slipped under the slate and beneath the leg levelers until every reading is perfectly flat.
- Level each individual slate slab first, then match adjacent slabs so seams are flush.
- Check level in multiple directions, not just end to end.
- Adjust leg levelers and add shims until the bubble is dead center everywhere.
- Re-check after tightening slate screws, since fastening can shift the reading.
This stage cannot be rushed. A table that is off by even a fraction can send balls rolling on their own, and the only fix is to go back and re-level.
Step 5: Sealing the Slate Seams with Beeswax
Once the slate is level and the slabs are flush, the seams and screw holes are filled and sealed. Traditional installers prefer beeswax over synthetic fillers because it is easy to work, sands smooth, and can be re-melted for future service without damaging the slate.
How the Beeswax Seal Is Applied
The beeswax is warmed until soft and worked into the seams between slabs and over each countersunk screw. A heated tool melts the wax so it flows into every gap, then the excess is scraped away and the surface is sanded perfectly flush with the surrounding slate. Done well, you should not be able to feel the seam with your fingertips.
A proper beeswax seal keeps the playing surface continuous so the cloth lies flat and the ball never catches on a ridge. It is the finishing touch that makes a re-installed table feel factory-fresh.
Step 6: Re-Felting and Final Setup
With the slate sealed, the cloth is stretched and secured across the surface, smoothed free of wrinkles, and tucked cleanly into the pockets. The rails and cushions are bolted back on, the pockets are reattached, and the table is given a final level check. A few test rolls confirm the balls track straight and true.
DIY vs. Professional Pool Table Moving
It is tempting to save money by moving a pool table yourself, but the risks are real: cracked slate is often impossible to repair, a warped frame can ruin play permanently, and the sheer weight is a genuine injury hazard. A professional crew brings the tools, padding, and leveling expertise to protect your table and your home. When you factor in the cost of new slate, new cloth, and potential floor damage, professional moving is almost always the smarter investment.
Trust the Pros to Move Your Pool Table
From careful breakdown to precise leveling and a traditional beeswax seal, moving a pool table the right way is a craft. If you want your table to play like new in its new location, trust an experienced team that treats every slab, rail, and seam with the care it deserves. Contact us today to schedule a professional pool table move, re-installation, leveling, and beeswax sealing.